
How to Root Your ICS or Jelly Bean Android Device Using Bin4ry Universal Method
Whether you are looking to install custom ROMs or special software packages, many folks in the Android world end up rooting their devices. Unfortunately for newbies to rooting, it’s a difficult process and one that is best avoided – right? Never!
Using a traditional method, rooting requires a bunch of steps and plenty of know-how, but this isn’t always the case. Many devices can actually be rooted with “One-click” universal rooting applications.
There are many different types of universal rooting programs out there, and even though they really are more than just one click in reality – they are still really easy to use. One of the universal tools I personally recommend right now is Bin4ry rooting method, which has an official support page over at the XDA Developer’s Forum.
Gaining root access is as easy as following a few similar steps, but we must warn you – things can go wrong when rooting, so proceed at your own risk. Additionally, it doesn’t work with every Android phone or tablet, and it also requires Android ICS or newer.
Some of the confirmed devices working with this method include Sony Xperia S/T/P/U/Z/ZL, the Nexus 7, HTC One S, Samsung Galaxy S2 and I got it working with an Acer Iconia A100.
To root, or not to root? That is the question. If you are unsure, check out our list of pros and cons.
Decided to go for it? Let’s jump in, then:
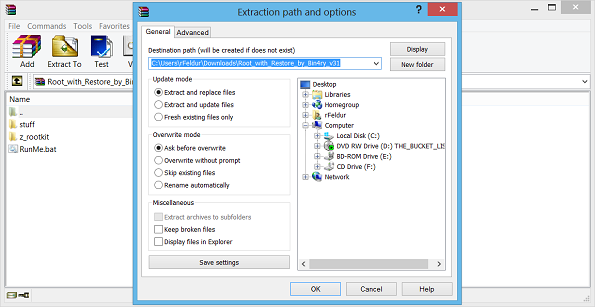
Step 1: Download the Root_with_restore_by_Bin4ry_vXX package. Extract it using the software of your choice. I used WinRAR.
Using a traditional method, rooting requires a bunch of steps and plenty of know-how, but this isn’t always the case. Many devices can actually be rooted with “One-click” universal rooting applications.
There are many different types of universal rooting programs out there, and even though they really are more than just one click in reality – they are still really easy to use. One of the universal tools I personally recommend right now is Bin4ry rooting method, which has an official support page over at the XDA Developer’s Forum.
Gaining root access is as easy as following a few similar steps, but we must warn you – things can go wrong when rooting, so proceed at your own risk. Additionally, it doesn’t work with every Android phone or tablet, and it also requires Android ICS or newer.
Some of the confirmed devices working with this method include Sony Xperia S/T/P/U/Z/ZL, the Nexus 7, HTC One S, Samsung Galaxy S2 and I got it working with an Acer Iconia A100.
To root, or not to root? That is the question. If you are unsure, check out our list of pros and cons.
Decided to go for it? Let’s jump in, then:
Step 1: Download the Root_with_restore_by_Bin4ry_vXX package. Extract it using the software of your choice. I used WinRAR.
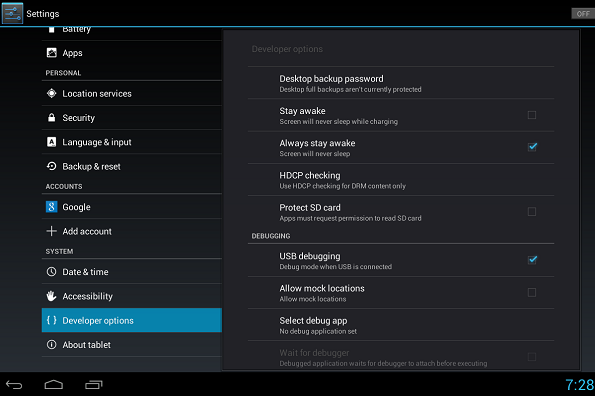
Step 2: Ensure that your phone is in USB debugging mode. For many devices it is either underSettings > Development options > USB debugging OR Settings > Applications > Development > USB debugging.
Step 3: Ensure that your device drivers are installed and ready to go for your Windows PC. How you do this will vary. One way is to hit up Google and search for your specific devices drivers. An example would be to type in “Galaxy S3 Windows drivers” into Google.
Step 4: Connect your smartphone or tablet to your PC.
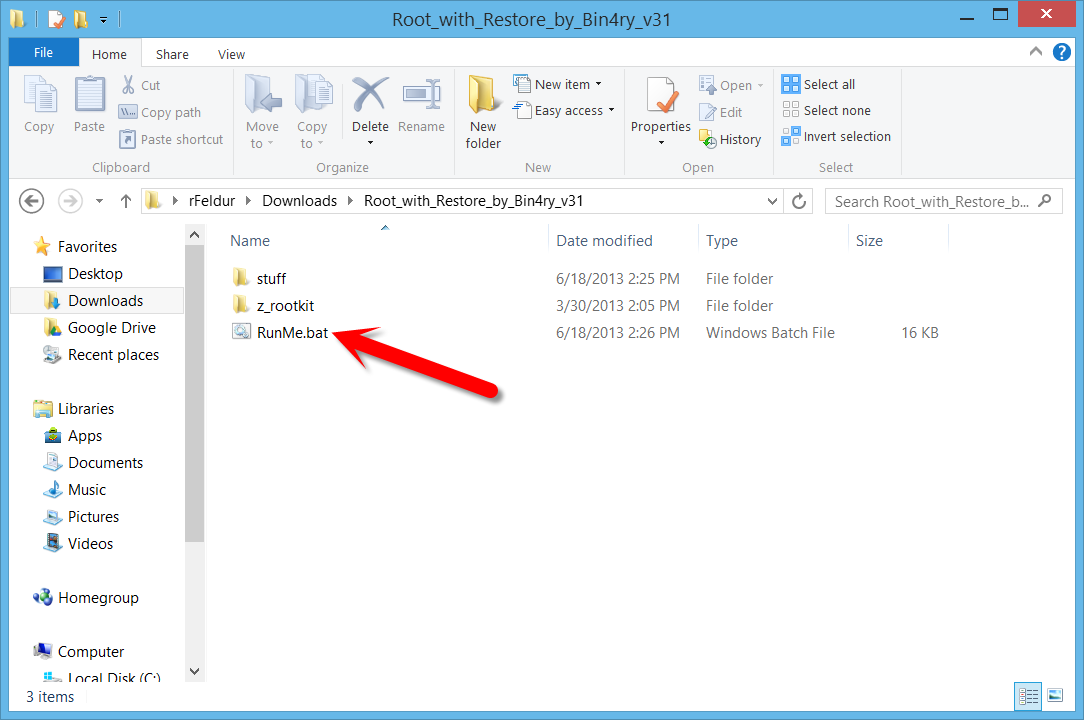
Step 5: Go to the directory where you extracted the Bin4ry application. You’ll want to double click on RunMe.bat.
Step 4: Connect your smartphone or tablet to your PC.
Step 5: Go to the directory where you extracted the Bin4ry application. You’ll want to double click on RunMe.bat.
Step 6: Now you’ll want to make sure you select the right option. For many devices, it is option 1.
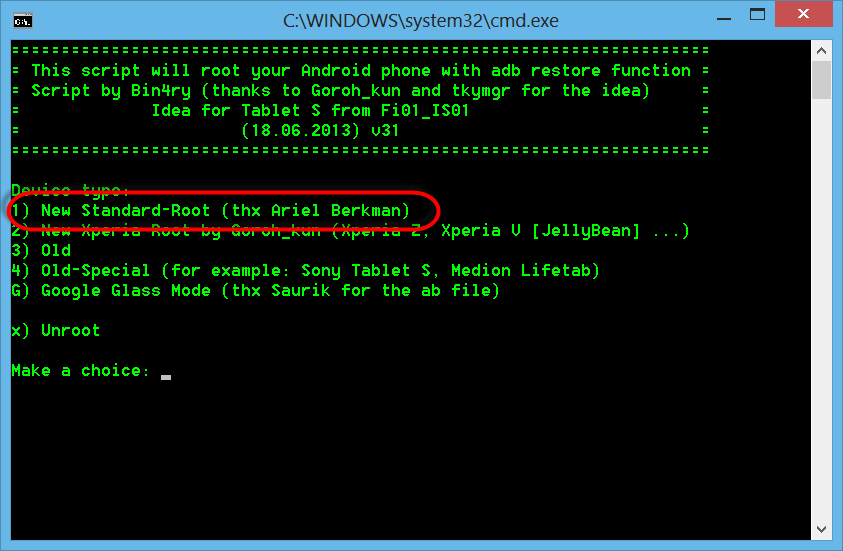
The other options aren’t recommended unless you have a specific need or a special device that doesn’t work with the standard root method.
Step 7: The software will now connect to your device and will reboot when finished.
Step 8: Want to make sure the root actually worked? A good program for that is Root Checker (Free). Go ahead and download now.
Step 7: The software will now connect to your device and will reboot when finished.
Step 8: Want to make sure the root actually worked? A good program for that is Root Checker (Free). Go ahead and download now.
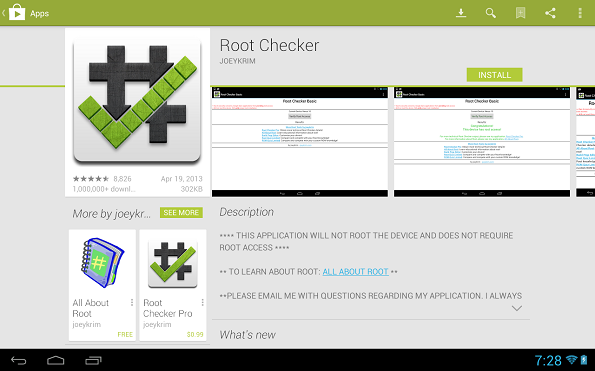
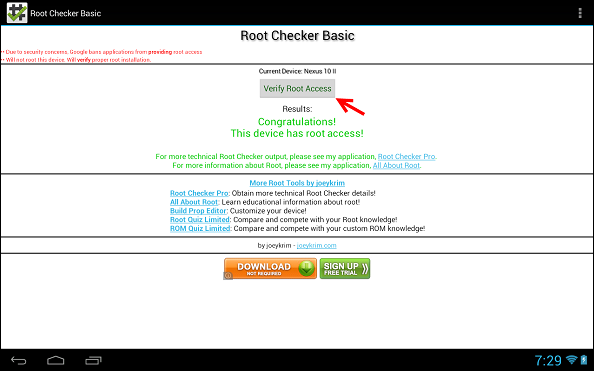
Step 9: Open up Root Checker Basic. You’ll notice in the very middle a button that says Verify Root Access, click it now. If it worked you should get back a message that says “Congratulations! This device has root access!”
That’s it! You now have root access and can start downloading custom recovery tools and other apps for making the most out of your root experience. Additionally, your device is now ready if you want to take the leap forward and install a custom ROM.
Note: While the Bin4ry method won’t work for everyone, if it does, it can save you precious time and also takes a process that would otherwise be somewhat confusing and makes it very easy to do!
Note: While the Bin4ry method won’t work for everyone, if it does, it can save you precious time and also takes a process that would otherwise be somewhat confusing and makes it very easy to do!
